
Now that I had a fully functional instrument cluster, It was a little bit easier to diagnose some behaviors that had been occurring the entire time I’d been driving the car. From the first time I’d driven the car, the Check Engine Light (CEL) would light up on moderate acceleration. With the functional LCD in the center working, I was able to learn that the light would light up under acceleration at .9 bar. Every time. What’s more, no matter what, boost would top out at 1.2 bar.
These two behaviors pointed to a couple things, first the manual told me that the light coming on under acceleration is the computer telling me that it can’t adjust the timing anymore, even though it really wants to. Ignition timing advance/retard is a critical piece of functionality in any car. It ensures that the spark occurs at the the right time to get maximum bang for the buck from the air/fuel mixture. As the burn happens at a constant rate and is not instant, the spark needs to happen earlier at high engine speeds than it does at low rpm. This light says, “I can’t retard the timing anymore”. This can lead to something called pre-detonation or pinging, this is when the spark happens too early, and the flame front of combustion starts interfering with still compressing air/fuel mixture. In extreme cases, especially in turbo charged applications, this can very quickly lead to a very broken engine. Like, broken bits inside kind of broken. To be clear, during the months of driving, I’d never heard any pinging or knocking, so hadn’t been too worried about the above happening.
Ever car sold in the US starting with the 1994 model year, complies with the federally mandated OBD-II standard. That is On Board Diagnostics 2. This ensures a common communications and reporting interface to talk to the car’s computer. This is how we read out error codes from the computer to know why the CEL is illuminated in the dash. I can use the same tool to read the engine codes from a 1994 Chevy Cavalier as I can from a 2024 Lamborghini. The situation before 1994 is somewhat more fraught. Pre 1994, there was no unifying standard. Every manufacturer had their own way of doing things. Various special tools and procedures existed in order to try and figure out what the computer perceived to be wrong. For a 1988 Audi the procedure is as follows:
1) Bring the engine to operating temperature
2) Achieve full throttle at 1.0 bar and exceed 3500 rpm once.
3) DO NOT TURN OFF CAR
4) Open the hood, remove the fuse panel cover
5) Jam a fuse in the top of the fuel pump relay for three seconds and remove
6) Count the blink pattern of the CEL on the dash.
How intuitive.
Not hard, but not something you’d be able to do without the very specific specialized knowledge to do so. Again every electronic engine management system before 1994 had an unknowable and undiscoverable (without the shop manual) diagnostic procedure of this nature.
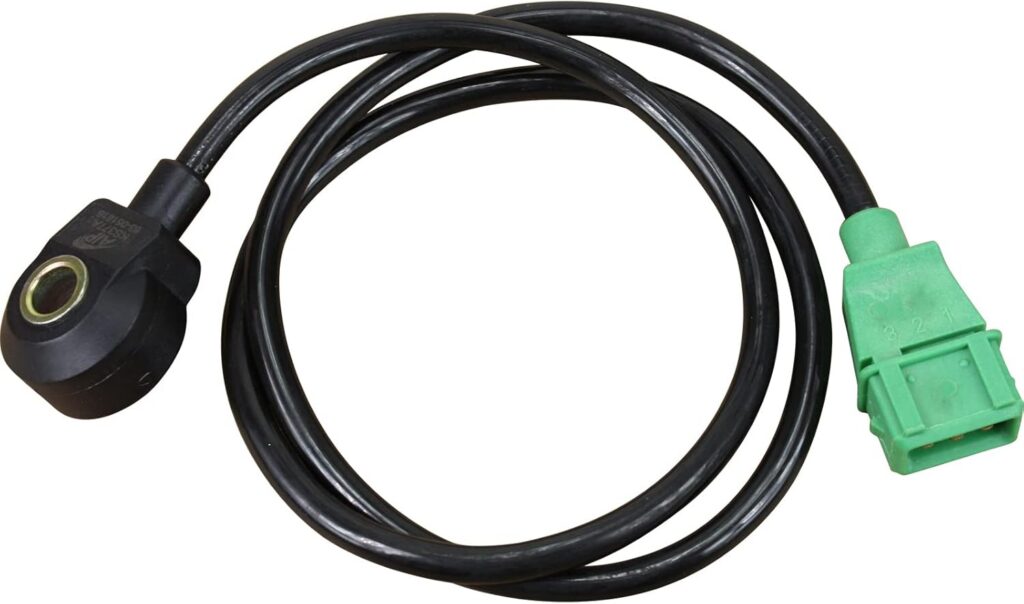
Doing this, we got the blink code of 2-1-4-2, which indicates: “Knock sensor #1 Open or short circuit, Defective sensor Check sensor and wiring” Sounds easy enough. Looking up the knock sensor for this car, I found VAG used it on everything from the ’86 5000 up through ’07 Touaregs! In other-words, cheap and readily available. I ordered one for $12 and waited for it to arrive.
After some weeks wait, the part arrived (I didn’t see the need to pay $60 to get one from Autozone immediated, the car was functioning file otherwise). I then engaged in an embarrassing 10 minutes of, where the heck even is this thing on the engine? Turns out the OEM style and the modern style are VERY different looking. I ended up finding the harness connector in the back of engine bay and following the wire to find the sensor. The old sensor screwed in with an integral threaded post.
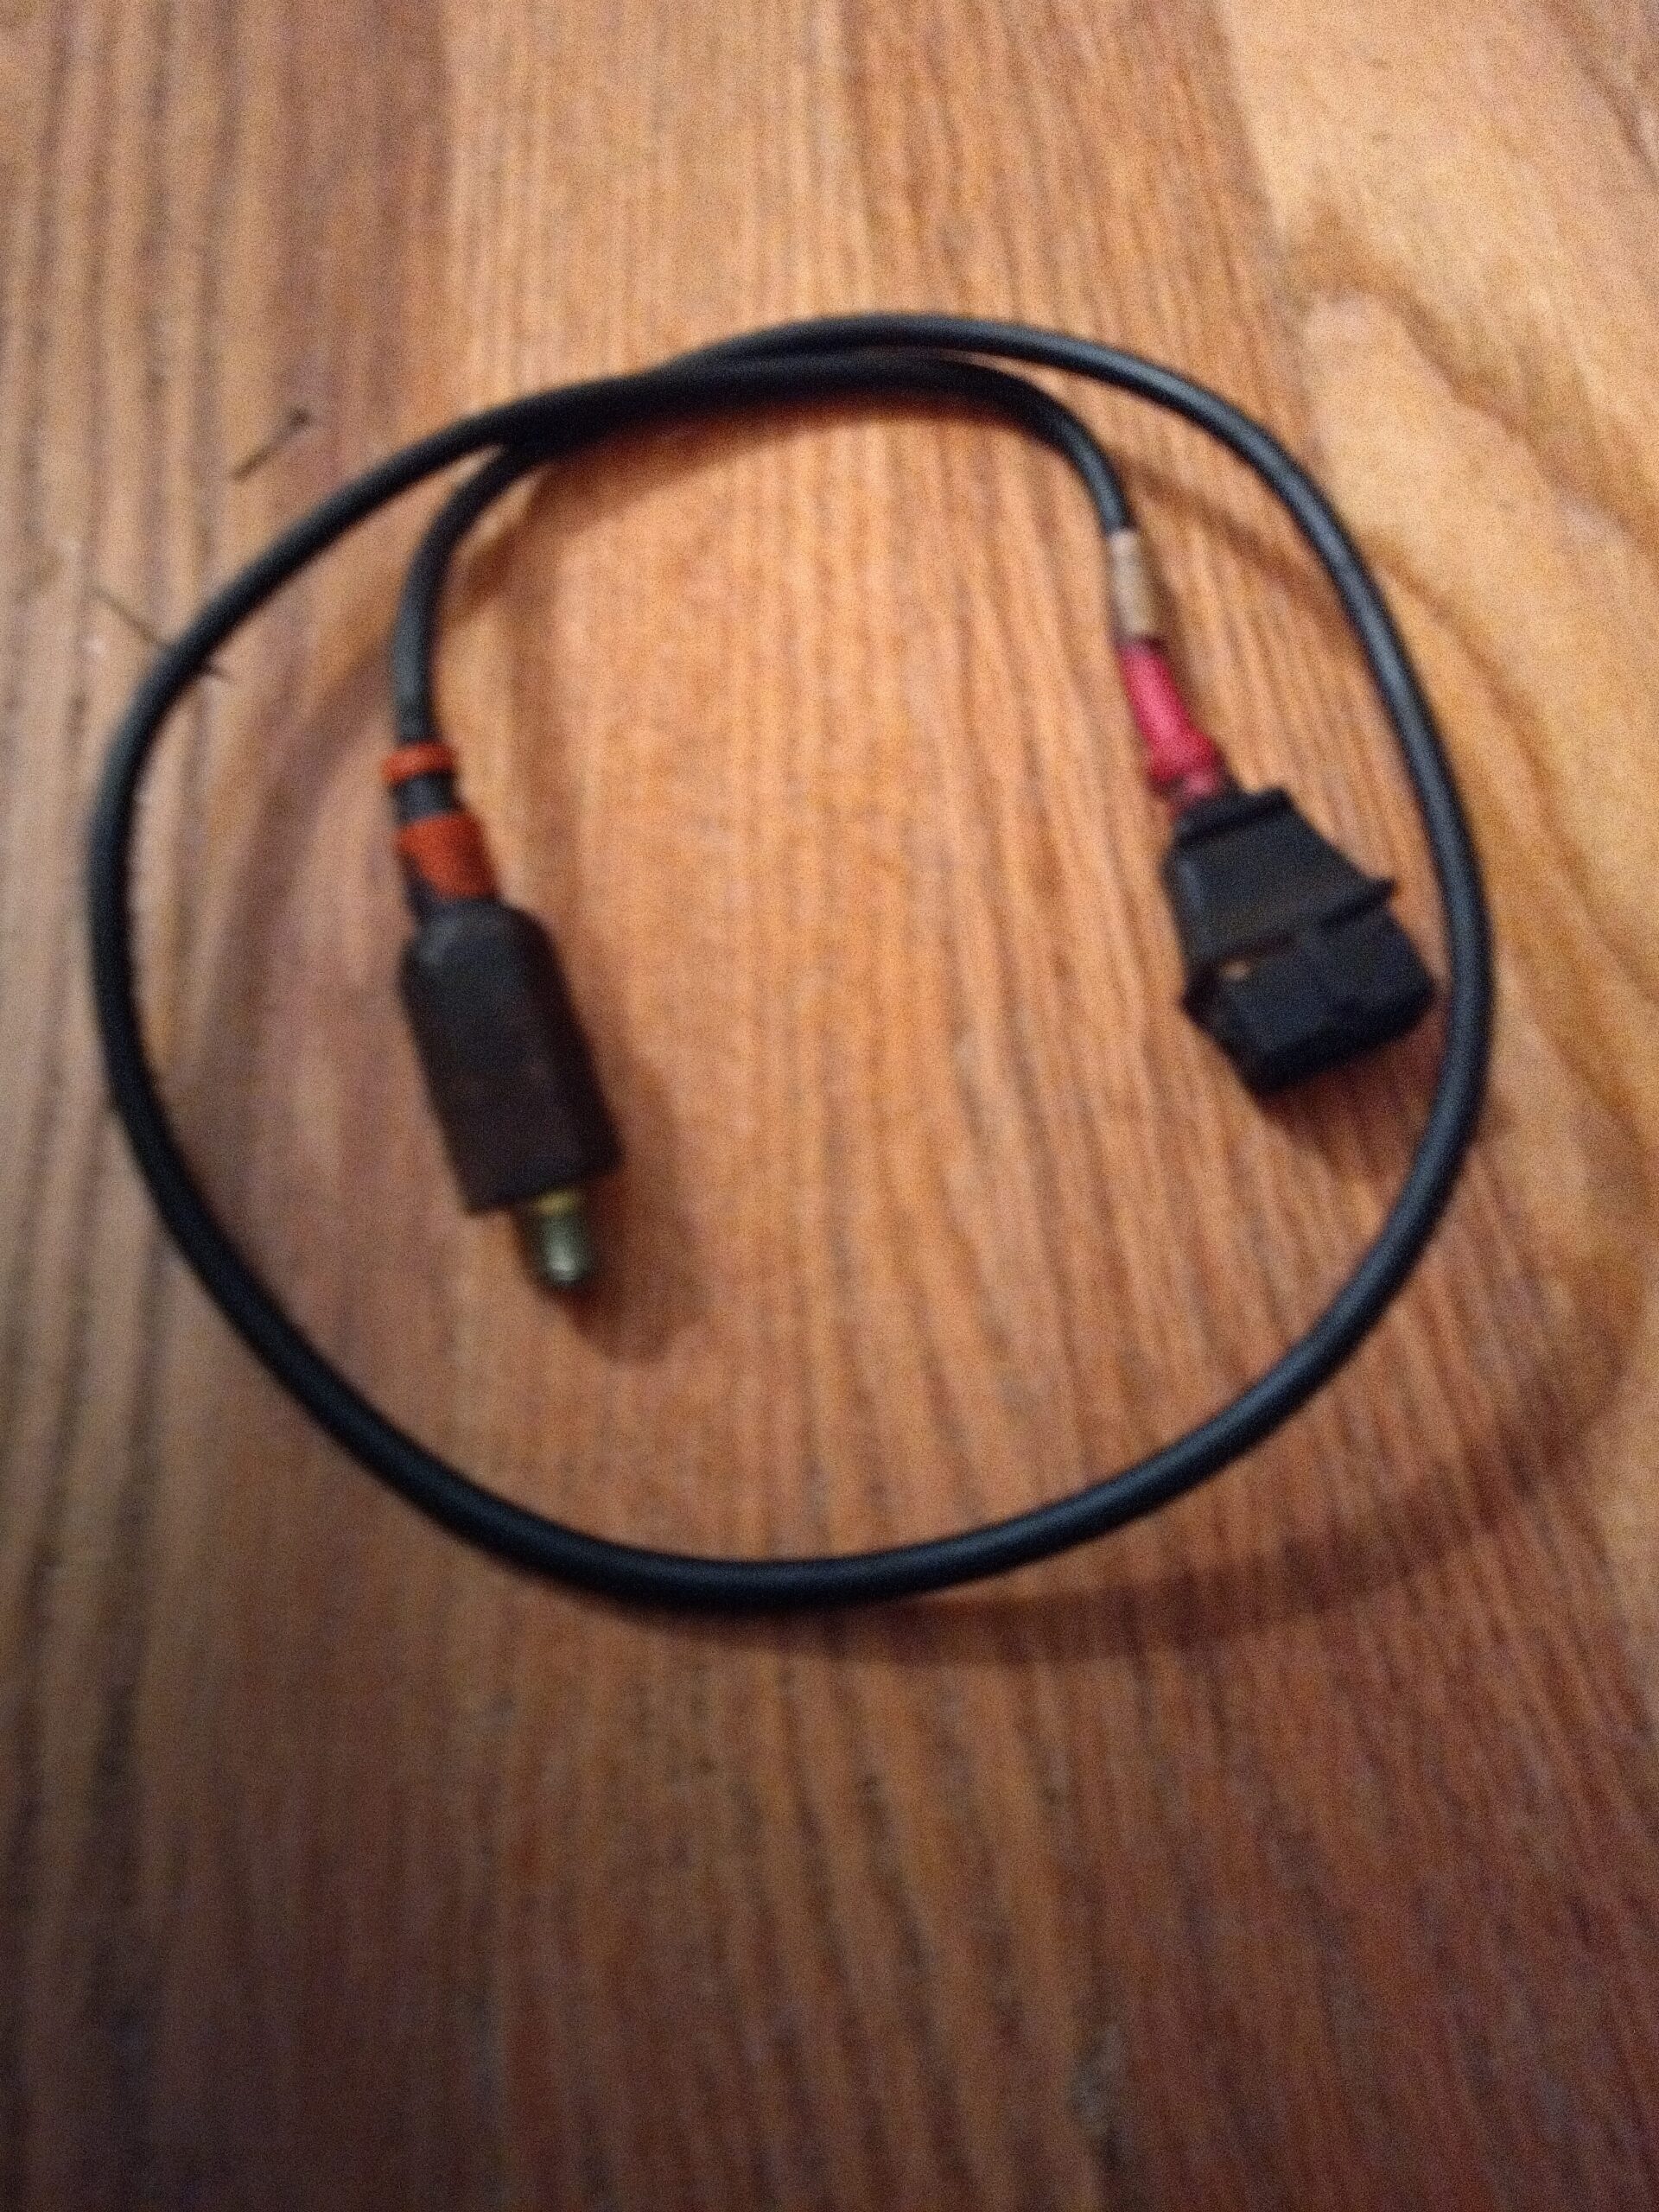
The new one, just has a hole in the middle for a bolt.
It didn’t come with a bolt.
Thankfully, I had something of appropriate thread and length in the bolt bucket and so was able to install the new sensor. I went for a test drive. I stuck my foot in the gas, .9 bar, CEL light. Son-of-a….
I drive it around a bit to warm it up and as per the procedure above. After jamming the fuse in the relay, I got the following code: 2-3-2-2 “Inlet air temp Open or short circuit” Hey, at least that’s different!
It was about here that I learned, this computer is so primitive, it can only track one error code at a time. The Inlet air temp sensor is right at the top of the Intercooler inlet, I touched the wiring harness and it simply fell off the sensor.
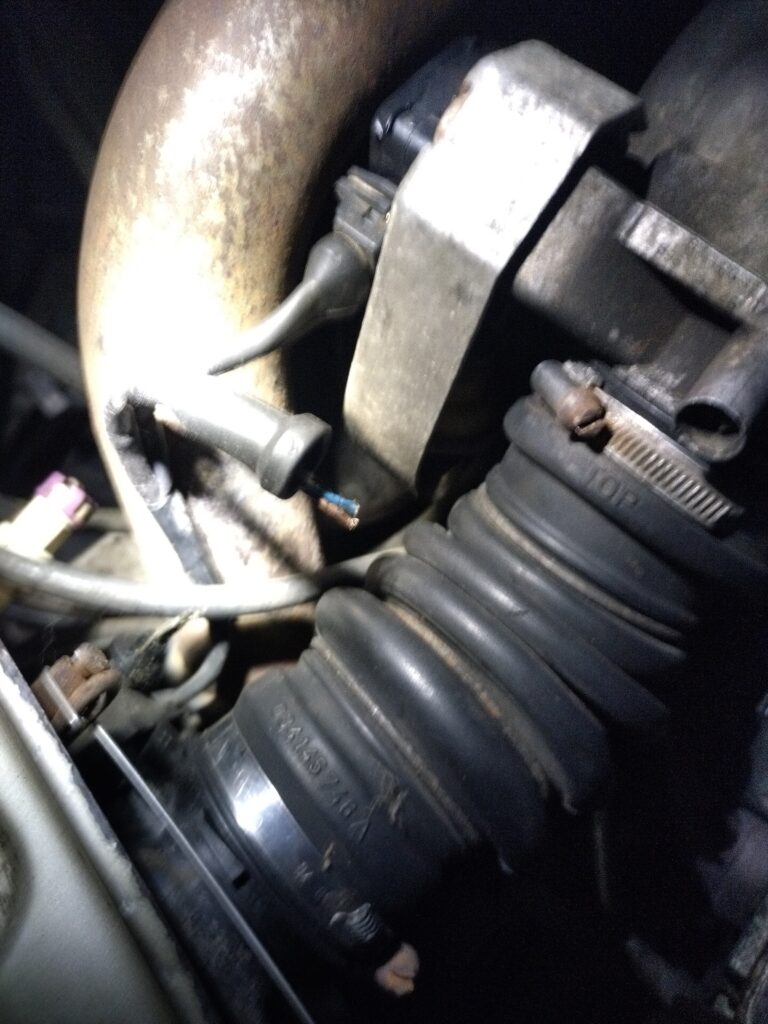
Problem identified! After some not-as-quick-as-I’d-have-liked wiring repair, I took it for another test drive. I observed the following:
1) no CEL at .9 bar.
2) At 4500 RPM is kept pulling all the way to redline. WOW!
3) Still not going above 1.2 bar.
Let’s talk about that 1.2 bar for a moment. This is limit of the mechanical waste gate. The wastegate is the valve which controls the amount of boost in the system. This car should go up to 1.4 bar. That extra .2 bar is achieved by the ECU manipulating the wastegate to keep more boost in. So, this indicates there is still a fault in the system somewhere which is preventing the ecu from modulating boost pressure.
Going through the code reading procedure again, I get 4-4-4-4: “No faults”. Next step is going through the static test procedures. This is similar a process of jamming fuses in places to make things actuate and observe the behavior. That’s an upcoming work session, but for right now the car is running great with good smooth power all the way to red line — once it’s warmed up (The non-functional idle-speed compensation system is another saga, which is still in on-going.)
One response to “Check Engine Light”
Very interesting